Introduction
In this post we will look at adding a pipeline to a Go Server installation. We will use the server configuration that we updated last time out
Before We Start
We will need a sample project before we can build a pipeline to update it. If you have a project of your own that you want to use, go ahead and use it, otherwise let’s use a simple project to get us going. We are going to use the code from Google’s codelab Your First Progressive Web App Codelab
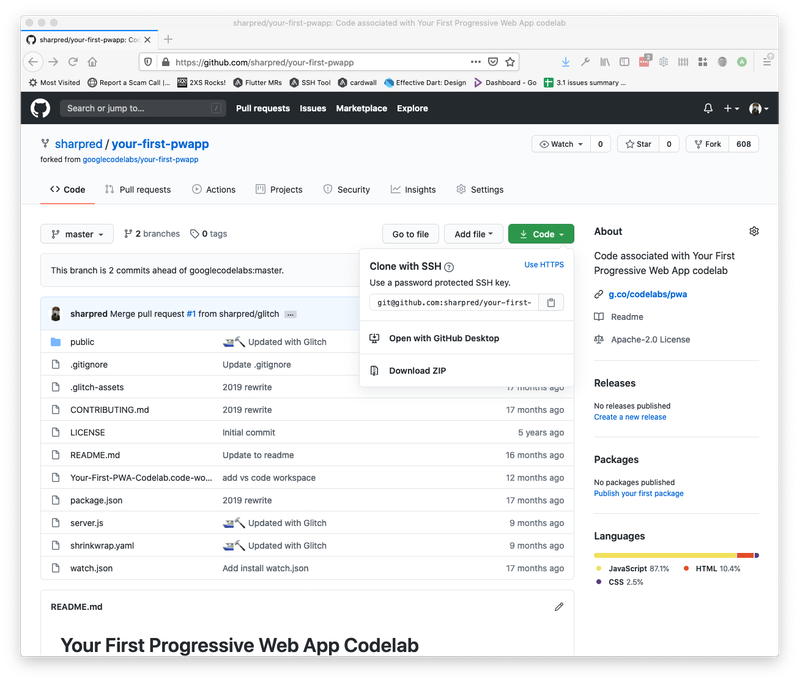
Sign in or sign up to github.com and go to the repo and click on ‘fork’ to create a fork of the source code in your github account. Once the fork has been created, click on the ‘Code` button to reveal the clone window, click on the ‘use HTTPS’ option click on the copy icon. Make a note of the copied URL as we will be using this shortly. The screen should look something like this;
Getting Started
Open a terminal / command window session and navigate to where your docker project is installed. Run docker-compose up -d to start the server as a daemon.
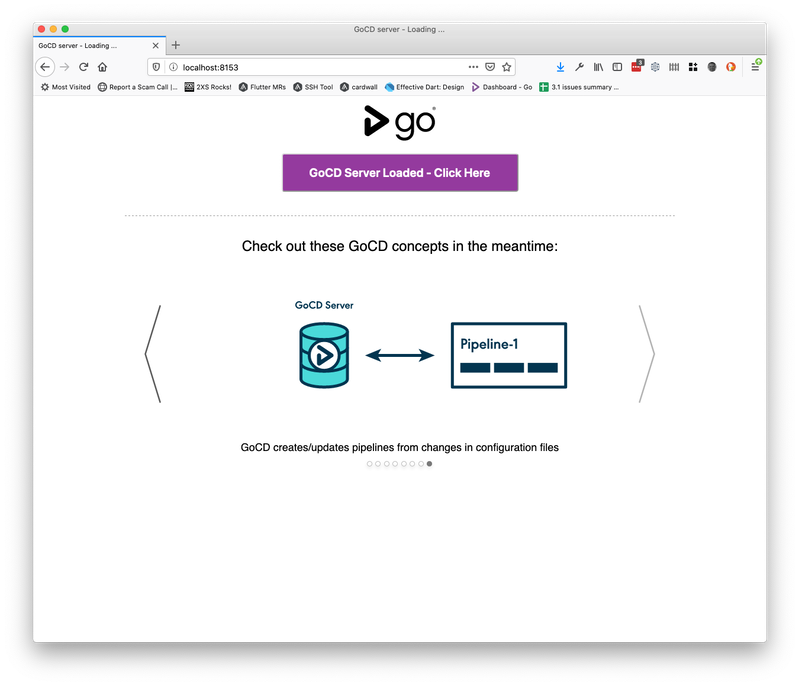
Go to http://localhost:8153/go; Whilst the server is starting up, flick through the carousel of GoCD concepts that are displayed on the screen.
Adding a pipeline
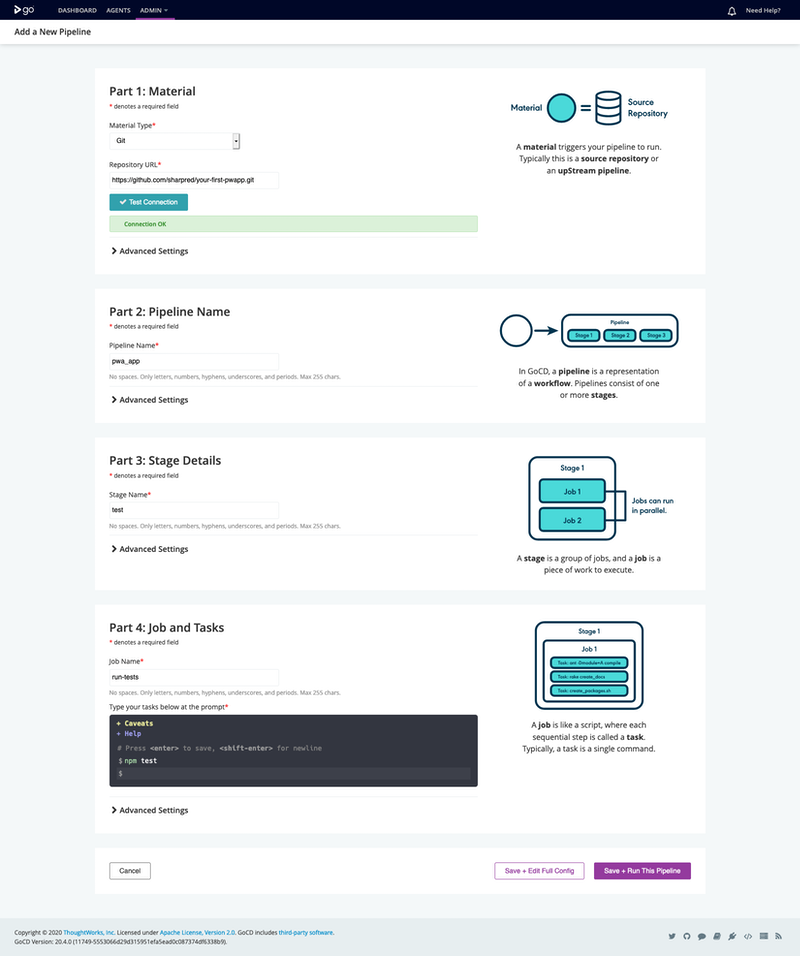
Eventually you should be presented with the ‘Add a New Pipeline’ wizard. Let’s walk through the steps;
In the ‘Repository URL` in Part 1: Material add the link you obtained in the previous section and click on ‘Test Connection’. You should see a “connection OK” response from the server.
In ‘Part 2: Pipeline Name’ give your pipeline an appropriate name. I have called mine (unimaginatively) ‘pwa_app’
In ‘Part 3: Stage Details’ give the stage an appropriate name. I have called mine (unimaginatively) ‘test’
In ‘Part 4: Job and Tasks’ I have called my initial job ‘run-tests’ and added a task in the prompt window of npm test
Your completed screen should look something like this;
Click on the ‘save and run this pipeline’ button. After a minute or two, you should be presented with this screen
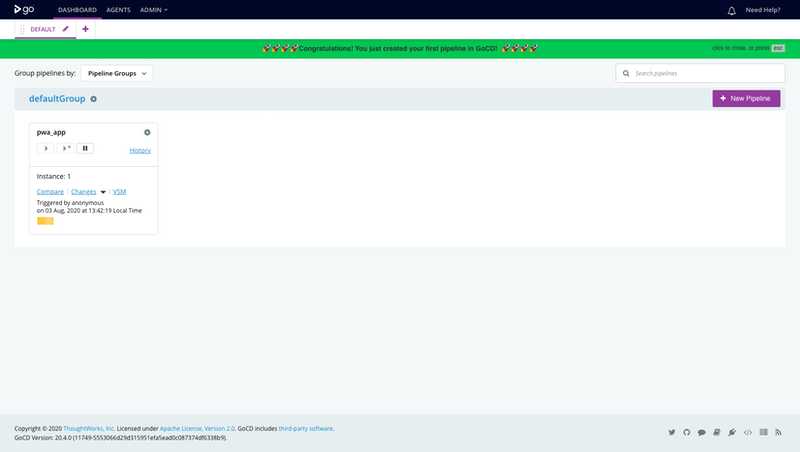
After a minute or two, the yellow progress indicator should change to a green icon to indicate that your configuration is successful.
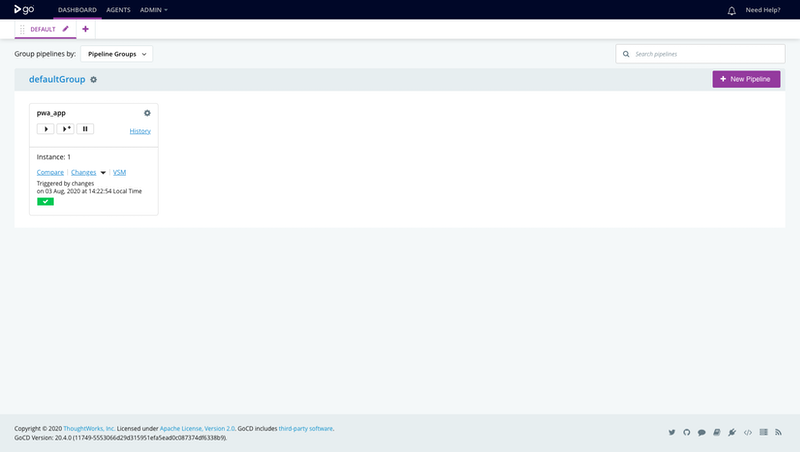
Congratulations you have successfully completed your first pipeline.
Before We Go
We are starting to flesh out our pipeline configuration and it would be good to not have to start over each time we go through an exercise. Let’s take a quick look at how we can save our existing configuration and re-use it next time out.
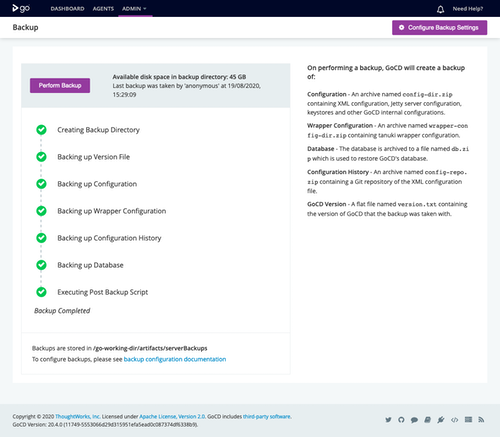
In a browser, navigate to your Go Server, select admin and then backup from the navigation menu and then click on the perform backup button. Click confirm to proceed. Eventually you should see a screen like the one below;
Open a terminal window at the root of your project folder where your Go Server Dockerfile and Docker-compose.yml files are.
run the following command*
docker cp $(docker ps | grep mygocdserverimage | awk '{print $1}')://go-working-dir/artifacts/serverBackups .
*run which awk if you are unsure if you have awk installed. Awk is installed on most UNIX/Linux distributions and is available via Homebrew and Apt. Head over to here for everything else.
This will download all the backups from your running instance of the go server to your local file system into a folder called serverBackups.
Run the following commands (substitute backup_20200819–142909 with the folder name relevant for the backup you want to copy)
unzip serverBackups/backup_20200819-142909/config-dir.zip -d ./server/config
unzip serverBackups/backup_20200819-142909/db.zip -d ./server/config/
This will copy all the relevant files from your running server instance and allow you to reuse them in a new Docker image.
If you look at the Dockerfile in your server config directory you will see that this config directory gets copied to your server container image on build. You will also see that the script copykeystore.sh gets added to the directory /docker-entrypoint.d meaning that
Run docker-compose down to close down your running Go Server.
Run docker-compose up --build -d to create and run a new Docker image with your saved config. navigate to your Go Server again and you will see that the config has been preserved as is the history of your pipeline.
Next Time
Next time we will look at changing some code in our pipeline project, modifying our pipeline to add extra stages and dealing with deployment issues.